
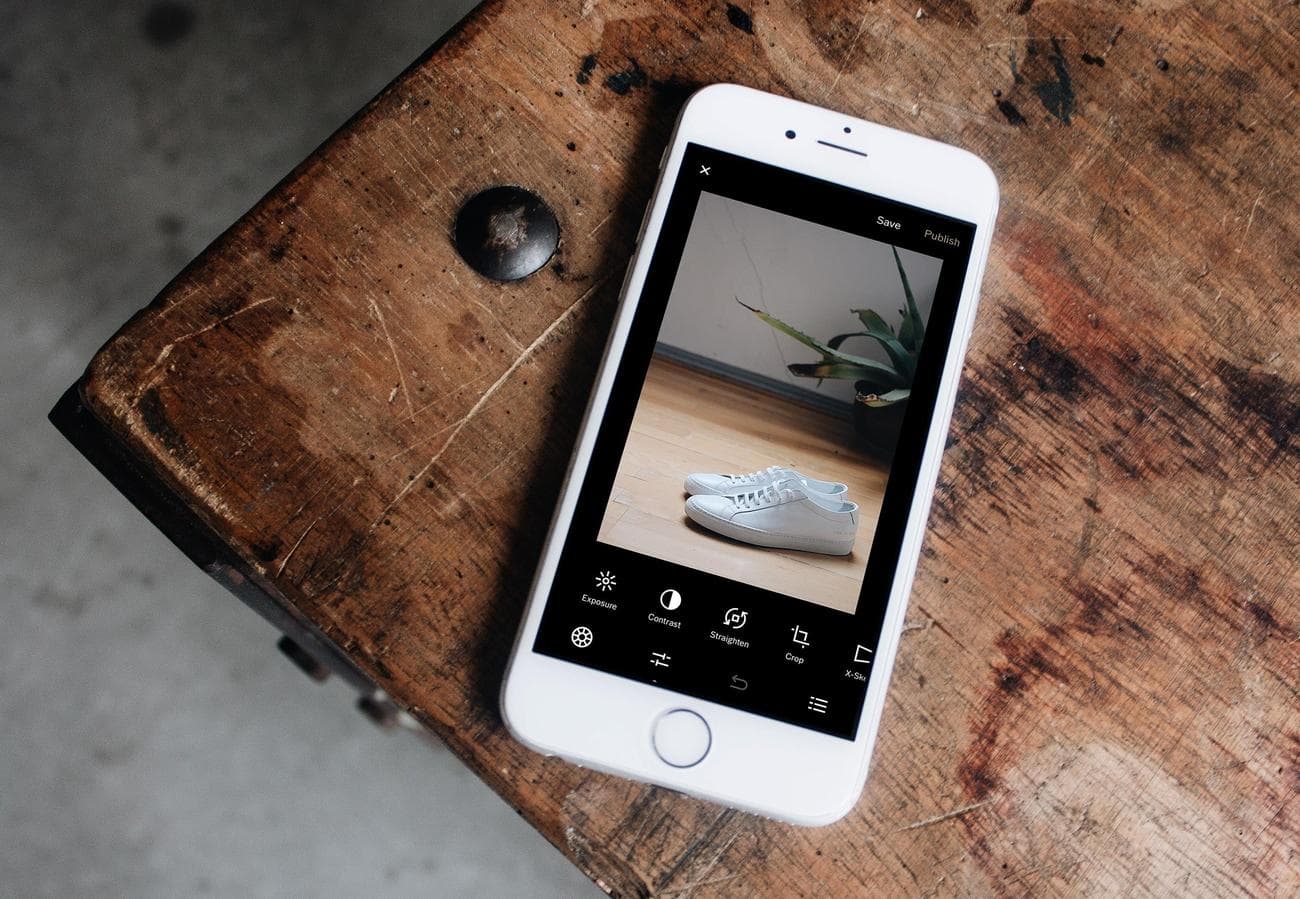
How to edit photos on iPhone
Editing
photos
on an iPhone may seem intimidating, given all the options and settings, but it’s accessible to all skill levels. Thanks to its user-friendly interface and intuitive controls, you can easily enhance your images with preset effects or manually adjust settings to achieve the desired look. No expensive editing software necessary.
The iPhone’s photo editor also offers advanced features such as selective editing, which allows you to make precise adjustments to specific areas of your images. Additionally, you can easily share your edited photos directly from the app by posting them to social media platforms or sending them to friends and family.
How to edit photos on an iPhone
Since most of us snap pictures on the fly, we are not thinking about the composition or lighting when we take the photo. We are trying to capture a moment as quickly as possible. Thankfully, that’s where
post
-editing comes in. Like icing a cake, editing images gives them a finished look. And editing photos on an iPhone might be even easier than messing around with gloopy buttercream.
Crop, rotate, or flip your photo
Was your selfie interrupted by a random bystander? No worries; that’s why there’s the crop tool. Cropping is one of the easiest and fastest ways to remove unwanted elements or distractions from the frame. Trimming the edges can also help improve a photo’s composition by adjusting the placement and balance of elements within the frame. In Photos, tap any thumbnail to view it in full screen. To start making changes, tap
Edit
, then tap the
crop icon
to choose one of three ways you can crop a photo.
Screenshot:
Apple
; Debbie Wolfe
1. Manual crop
: With the
crop icon
selected, drag the rectangle’s corners to enclose the area you want to keep in the photo. Tap
Done
to crop.

Screenshot: Apple; Debbie Wolfe
2. Zoom crop
: Alternatively, you can crop iPhone images by activating the crop tool and pinching them to zoom in. When the photo appears as you want it cropped, hit
Done
to save.
3. Use a preset ratio:
Tap the
aspect ratio icon
in the upper right corner (a small rectangle with other rectangles stacked on top), then choose one of the cropping options, including square, wallpaper, 9:16, and 5:4. Hit
Done
to save the change.
-
Pro tip:
If you choose a ratio crop, such as 9:16, you can select a vertical or horizontal orientation by tapping the two rectangles below the image.
Screenshot: Apple; Debbie Wolfe
How to rotate a picture on iPhone
Tap the
rotate icon
(a square with an arrow curving around one corner) to turn the photo 90 degrees at a time. Keep going until you get the orientation you desire. Hit
Done
to confirm the changes.
Screenshot: Apple; Debbie Wolfe
How to flip a photo on iPhone
Touch the
flip icon
(mirrored triangles with an arrow above them) to reverse the image horizontally. Tap
Done
to save your edits.
Screenshot: Apple; Debbie Wolfe
Just know that if you don’t like your crops, rotations, and/or flips at any time during the editing process, you can tap
Cancel
in the lower left corner of the screen, then hit
Discard Changes
.
Straighten your image and adjust the perspective
Sometimes, you don’t notice tilted or skewed lines in a photograph until after you take it. Fortunately, altering the perspective is simple with the iPhone’s editing software. Open a photo on your iPhone, tap
Edit
, then hit the
crop icon
.
Under the photo, you will see three options for straightening the horizontal lines in the photo and adjusting the vertical and horizontal perspectives. When you choose the one you want to use, drag the slider underneath to make precise changes. There is also an
Auto
option at the top of the screen, which will automatically adjust the photo based on the selected adjustment.
Screenshot: Apple; Debbie Wolfe
1. Straighten:
This adjustment, well, straightens out horizontal lines within a photograph.
Screenshot: Apple; Debbie Wolfe
2. Vertical perspective:
Corrects or modifies the perceived height or angle of objects in a photo, straightening vertical lines that may appear tilted or distorted.
Screenshot: Apple; Debbie Wolfe
3. Horizontal perspective:
Changes horizontal lines and angles in photos, ensuring parallel lines and your desired alignment.
Screenshot: Apple; Debbie Wolfe
After editing the perspective, select
Done
to save your changes; if unsatisfied, hit
Cancel
, followed by
Discard Changes
.
Adjust light and color
Light and color are important factors when editing photos on an iPhone—and anywhere, really—because they affect an image’s overall mood and visual appeal. The right lighting will bring out the subject’s features, add depth, and make important details stand out. In the same way, changing a photograph’s colors can make the viewer feel certain emotions, set a particular mood, or even send a message. Your phone’s Photos app has several tools that will let you adjust the light and color of your pictures.
[Related: How to take better selfies]
To begin, open the photo you want to alter. Tap
Edit
, then swipe left under the image to view the effects you can edit. The quickest and easiest way to make adjustments is to tap on
Auto
, and the slider under the Auto tab will allow you to adjust the intensity of the iPhone’s suggested edit.
Screenshot: Apple; Debbie Wolfe
If you prefer complete edit control, though, the iPhone photo editor lets you adjust each effect individually for a custom edit. The effects you can alter are:
-
Exposure:
Increasing exposure can make an image brighter, while decreasing it can create a darker and more dramatic effect. -
Brilliance:
Enhances an image’s overall clarity and vibrancy, making it more visually striking. -
Highlights:
Brings out the brightest areas of an image, adding a sense of brightness and contrast. -
Shadows:
Darkens the darker areas of an image, creating depth. -
Contrast:
Makes the difference between light and dark areas more pronounced. -
Brightness:
Changes how light or dark the photo is overall, but not as dramatically as adjusting exposure. -
Blackpoint:
Adjusts the darkest point in an image, allowing for greater control over the overall tonal range. -
Saturation:
Affects the intensity and richness of colors in an image. -
Vibrance:
Similar to saturation, but designed to enhance the colors more subtly and naturally. -
Warmth:
Adjusts the color temperature of an image, making it appear either warmer (more yellow/orange) or cooler (more blue). -
Tint:
Adjusts the overall color balance of an image, adding a subtle hue to the entire picture. -
Sharpness:
Enhances the clarity and detail of an image, making edges and fine textures more defined. -
Definition:
Improves an image’s overall sharpness and clarity by enhancing the distinction between different elements and adding depth. -
Noise Reduction:
Reduces digital noise in an image, resulting in a smoother and cleaner appearance. This helps minimize the grainy or speckled effect that can occur in low-light settings. -
Vignette:
Darkens the corners and edges of the image, creating a subtle or dramatic spotlight effect.
To use an effect, tap on its icon and drag the slider underneath to make precise adjustments. The outline around the button indicates the degree of adjustment, and you can toggle between the edited effect and the original to see how much you’ve changed the photo.
Screenshot: Apple; Debbie Wolfe
Apply filters
Filter effects enable you to easily add creative and artistic elements to your photos, resulting in more visually appealing and captivating images. To apply a filter, open a photo, tap
Edit
, then tap the
Filters button
(the three overlapping circles) to pull up the filter effect options. There are nine to choose from. Use the slider underneath your chosen effect to adjust its intensity, and if you need to remove a filter, tap
Original
. Hit
Done
to confirm the edit.
Screenshot: Apple; Debbie Wolfe
Portrait mode editing tips
If you’re someone who likes to use Portrait mode, you’ll need to be familiar with the iPhone’s Portrait mode-specific enhancements. These allow you to adjust the depth of field (also known as
bokeh
), which is the range of distance within a photograph that appears in sharp focus and makes the subject stand out. Portrait mode’s editing tools also include studio lighting effects for added flexibility and creativity.
When you open a photo taken in Portrait mode, you will see two editing options not available in the regular photo mode. The effect at the top with the little “f” is f-stop, or depth of field. The circles at the bottom of the screen are lighting effects.
Screenshot: Apple; Debbie Wolfe
Adjusting the f-stop will increase or decrease blurring in the background. The smaller the f-stop, the more blur you’ll see. A larger f-stop will mean less blur. Tap the
f-stop icon
, and a slider will appear at the bottom of the screen, allowing you to adjust the effect.
Screenshot: Apple; Debbie Wolfe
To adjust the lighting, tap one of the effects. You can choose from natural, studio, contour, stage, stage light mono, and high-key light mono. Move the slider to the left or right to increase or decrease the effect.
Screenshot: Apple; Debbie Wolfe
Write or draw on a photo
It can be fun to write or draw on a picture, and the iPhone makes it easy to do so. Choose a photo, then go to
Edit
and tap the
pen-shaped button
. Use the various drawing tools and colors to draw on the picture.
Screenshot: Apple; Debbie Wolfe
You can tap the
plus
button
to magnify or add a caption, text, shapes, or even your signature. Tap
Done
to save your changes, or tap
Cancel
if you don’t like them.
How to undo photo edits on an iPhone
Don’t worry if you make an editing mistake—the iPhone’s Photos app gives you plenty of opportunities to undo your edits.
Undo and redo edits
: While editing a photo, tap the
left
and
right arrows
at the top of the screen to undo and redo multiple edit steps.
Screenshot: Apple; Debbie Wolfe
Revert an edited photo:
If you save changes and decide you do not like the edit, you can open up the photo, select
Edit
, and then hit
Revert
to restore the original version.
Screenshot: Apple; Debbie Wolfe
Copy and paste edits to multiple photos
The iPhone allows you to copy edits from one photo and paste them onto one or more others, an ability that is particularly useful when you’re trying to edit a series of similar photos. Start by opening the photo that contains the edits you want to copy. Then tap the
More Options
button (three dots), followed by
Copy Edits
. Hit
Cancel
, then the
back button
to return to your photo library.
Screenshot: Apple; Debbie Wolfe
From there, tap
Select
, then touch the thumbnails of the photos to which you want to apply the edits. Finally, select
Paste Edits
from the
More Options
menu.
Screenshot: Apple; Debbie Wolfe
How to remove the subject from a photo on an iPhone
Although you can’t edit the background of a photo with the iPhone’s Photos app (you’ll need to install a separate app for that), you can cut and paste one part of the picture—the subject.
To do so, the photo’s subject and background should be clearly distinct, and the background shouldn’t be too busy or similar to the subject. Start by opening an image, then pressing and holding the subject. You should see a white glow around the subject, and a
window
should pop up asking you to
Copy or Share
. If that doesn’t work, move your finger around and try again—sometimes, it takes more than one attempt to select a subject.
Screenshot: Apple; Debbie Wolfe
When it does work, your iPhone will automatically separate the subject from the background, and you’ll be able to copy and paste it into another app, or share it using standard sharing options.
Screenshot: Apple; Debbie Wolfe
If necessary, change the date, time, or location
Your iPhone stores the date, time, and location in the photo’s metadata. If you need to alter this information, you can. Open the photo you want to change, then tap the
More Options button
(three dots) in the upper right corner. Touch
Adjust Date & Time
or
Adjust Location
, enter the new information, and hit
Adjust
.
Screenshot: Apple; Debbie Wolfe
To change the date, time, or location of multiple photos at once, tap
Select
, touch the thumbnails of the images you want to change, and follow the steps above. Don’t worry if you change your mind, either—you can undo your metadata edits by tapping the
More Options button
, followed by
Adjust Date & Time
or
Adjust Location
, then
Revert.
FAQ
Q. Can you erase objects on iPhone photos?
You can only erase objects from iPhone photos with third-party editing apps from the App Store. These programs offer object removal tools and other features that allow you to easily remove unwanted elements from your photos with just a few taps.
Q. Can my iPhone edit blurry photos?
Your iPhone can help enhance blurry photos with its sharpening tools and filters. However, the iPhone cannot make an image completely clear if the photo is severely out of focus.
VIA:
popsci.com